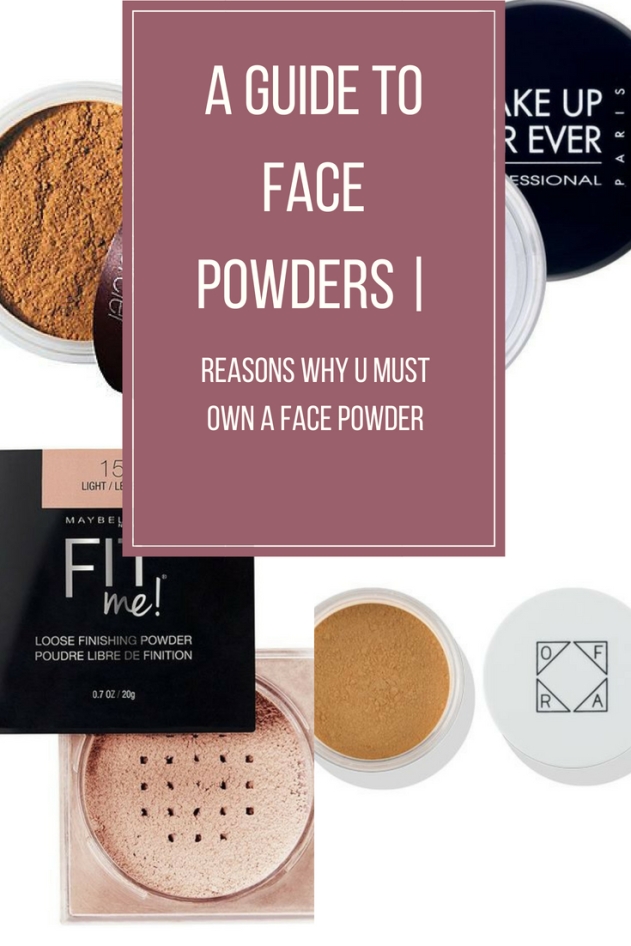
Face powders are an important part of the makeup application process. They are meant for setting up all your makeup. I apply it right after the concealer and let it sit for sometime and then brush off the extra powder.
As we all know there are various types of powders that are created in order to fulfill specific purposes. So, today I will talk about all such types of powders today, their purposes and some of the brands that have the best powders in the market.
Lets get into the types of powders first.
LOOSE POWDERS
TRANSLUCENT POWDERS
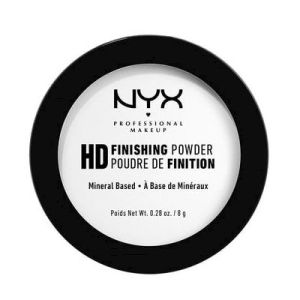
MINERAL POWDERS
COMPACT/PRESSED POWDERS
FINISHING POWDERS
Like seriously, I did not even have any idea that there are these many powders in the market.
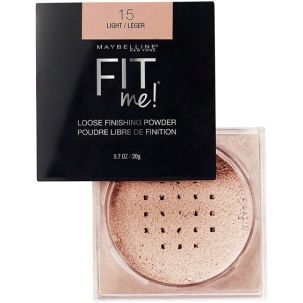
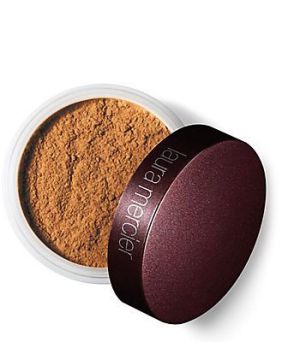
LOOSE POWDERS
Loose powders, as the name suggests, are loose particles packed in a jar. They are mainly used in order to set all the concealer in place and also for a heavier coverage.
This can be applied with wither a powder brush or a beauty blender.
TRANSLUCENT POWDERS
These are normal powders that come in both loose and pressed form.
MINERAL POWDERS
These are very similar to loose powders by appearance.
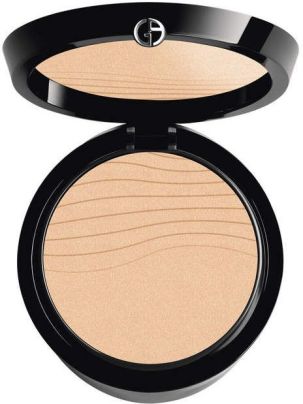
COMPACT/ PRESSED POWDERS
These are the opposite to loose powders. They are easier to carry in bags as the risk of their fall out in minimal.
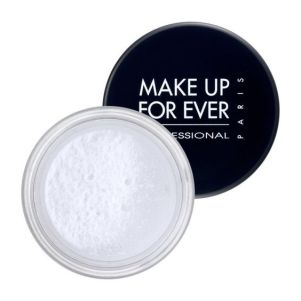
FINISHING POWDERS
I recently learnt about this powder. It is mainly a white color powder that is used mostly for photo shoots on models for a flawless finish and also so that the face look crease less. but it has to be applied in an appropriate manner.
These come as both forms :compact and loose.
Pictures: Pinterest
REASONS WHY U MUST OWN A FACE POWDER !!
OKAY !!
Lets now talk about why do you even need a face powder in the first place. Do not worry, I will tell you some of the reasons after which you will for sure go and buy one.
FOR MAKEUP THAT LASTS ALL DAY
FOR A MATTE FINISH
FOR A COMPLETE MAKEUP LOOK
FOR THE VERY NECESSARY TOUCH-UP IN THE MIDDLE OF THE DAY. 😉
So that is all for now. I will talk about different brands that sell some of the best selling face powders of various types and the ones I would love to try in another post.
Do you also use a face powder? If yes, which one ?
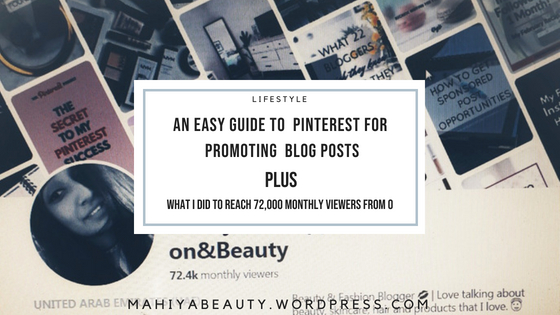
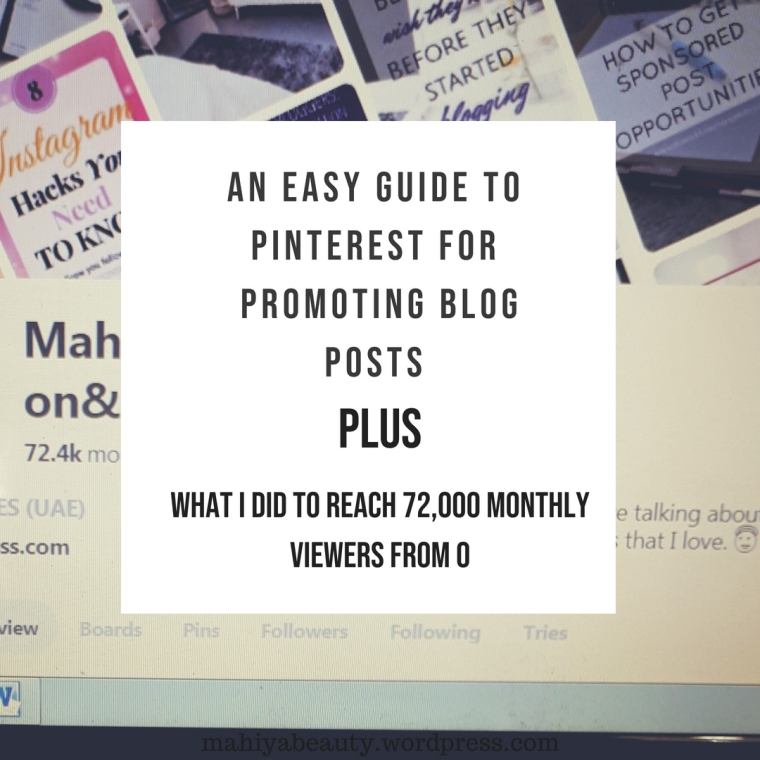
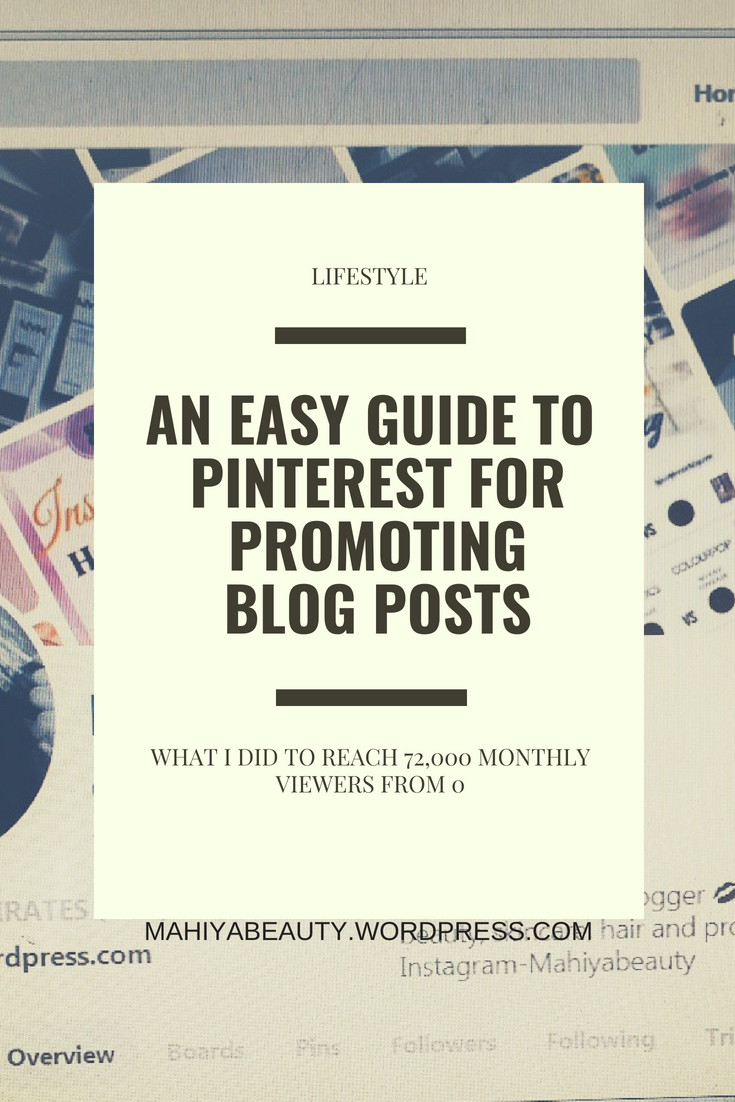
AN EASY GUIDE TO PINTEREST FOR PROMOTING BLOG POSTS
Pinterest so far as been one of those social sites from where I get the maximum number of readers. I have been only reading how beneficial it is when it comes to promoting your blog posts on this site but when I myself started doing it I realized that it actually is. I have been sharing my blog posts from DAY 1 of my blog launch.
And so today I will share with you how do you actually make use of Pinterest in order to boost your traffic.
Trust me it is not that difficult at all
Okay, so I will share things that I do on Pinterest, there are many amazing posts (you can search for them on Pinterest itself), where you will get in depth information on things you must do on it for the growth of your blog. 😀
Okay, so before getting into the points, let me introduce some basic words that are used only in Pinterest.
Pins: this is basically an image that you and I see on Pinterest and want to save it.
Boards: Similar to a folder we all make on our laptops and computers, this one has been given the name of : Boards
Pin it: I am sure all of you came across these two words and is means to “save it”
Group boards: these are groups of many people .
1. BUSINESS ACCOUNT
So I had an account on Pinterest even before I started blogging but that was just a PERSONAL ACCOUNT. The first thing I did after launching my blog was to go to Pinterest settings and change my account from ‘PERSONAL to BUSINESS’.
By changing your account to a business account you can see your analytics and other details regarding your pins like “how many saves your pins got”, “how many clicks you got to your website”, “closeups” etc.
2. PROFILE ON POINT
The next step you take is fill in your profile. You need to specify what you do, who are you, and a little bit about what you blog about. Also do not forget to insert your blog link so that people can easily just click and visit your blog.
A good profile picture does wonders and changes the whole look of your profile, so make sure you upload a good profile picture too. 😀
3. GROUP BOARDS ARE AWESOME
Group boards are an awesome way to get your blog posts out in front of a lot of people and by a lot I mean thousands and thousands of people. The more group boards you are a part of, the better it is for you and for your blog of course.
There are so many ways you can get to know about the different group boards according to your niche, you can goggle about them and you will find many blog posts of various people talking about all types of group boards. What you can also do is visit otjer bloggers profile on Pinterest and check out which group boards they are a part of and then try and request to be a part of the same.
You can write a short email requesting to be a part of the group board you want to be a part of.
4. HEADLINE & HASHTAGS
Your headline should also be an important part for those images that you are going to pin. You can include your headline while you insert your images. Just add you image, go to the edit option and fill in the “alt text” option with your blog post title and you are done.
I also make sure that I include some relevant hashtags based on what my blog post is all about.
5. PINNABLE BLOG IMAGES
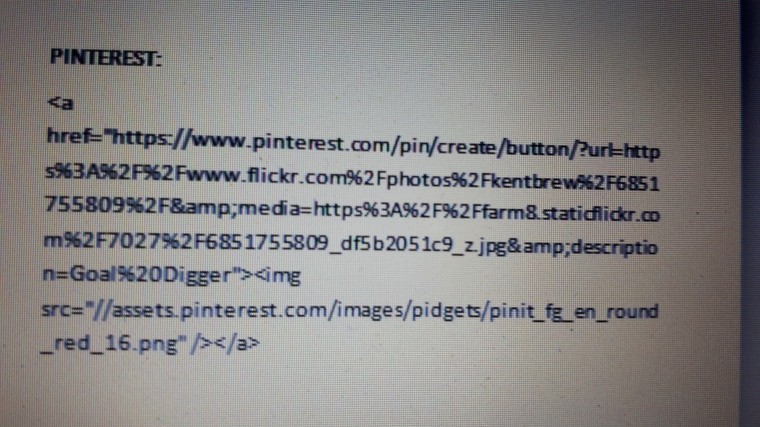
You need to make sure that the images that you include in your posts are easily pinnable. You just need to fill in the below thing in the description box which you get in the edit section of your images. You can easily find it on the internet.
6. INTERESTING PINTEREST GRAPHICS
This is definitely my most favorite part. I love creating blog post images for my blog posts. And I love CANVA for the all the designs. There is a different section specifically for “Pinterest graphics”. Make sure you use that because that is just perfect.
7. TAILWIND
You can schedule your pins through tailwind which will then be automatically punned at specific times to the boards you have assigned them too. It has a free version so make sure you try it out. 🙂
It was a little complicated for me in the start, but eventually I learnt how to use it, so you will too learn.
8. LOTS OF BOARDS AND PINS
Last but not the least create as many boards as you can and pin whenever you can. Although it is not very compulsory to have so many boards but I guess the more boards you have, the more pins you will have and all those pins will attract more people. 😀
ANNND if you ask me how I managed to increase my monthly viewers from 0 to 72,000 then it is all these things that I mentioned above. I did all of these things from Point number 1 and my monthly viewers increased from 0 to more than 72,000. It just requires a little effort and you will see all the difference along with a lot of patience.
Trust me guys, it is not that difficult at all. If you guys have still not started using Pinterest, START NOWW !!!
Lastly, I would just say that Pinterest my most favorite social site with regards to getting whatever I search for, pinning things I love and of course promoting my posts.